

How to Draw Fish: A Step-By-Step Guide
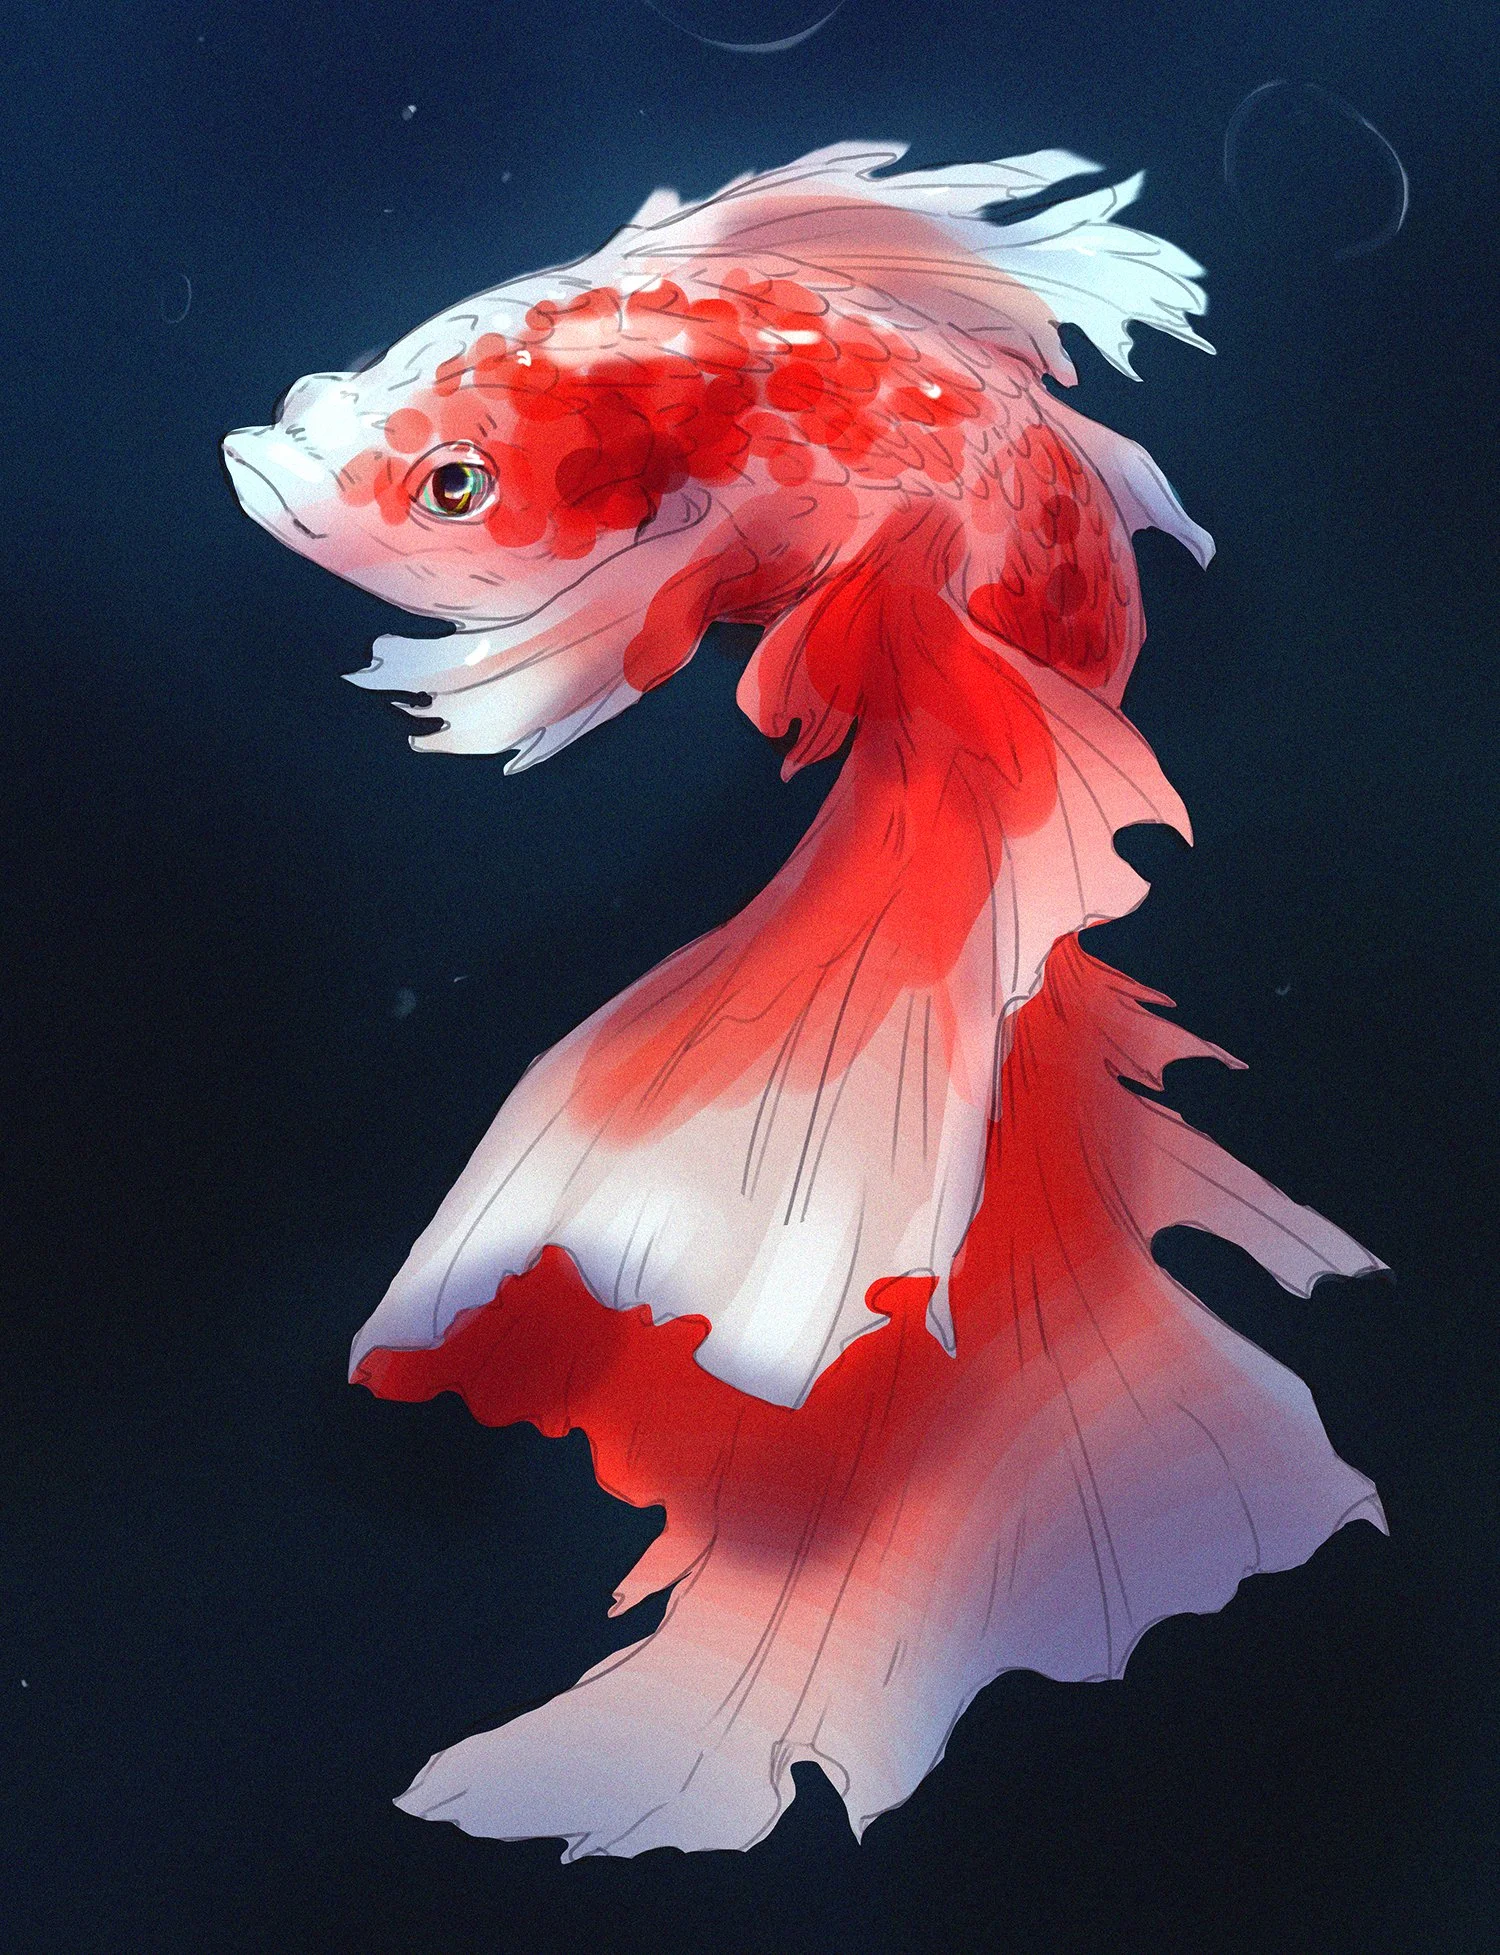
Drawing a fish, especially one as elegant as a betta fish, can be a rewarding experience for artists of all levels. This tutorial will walk you through the process, from the initial sketch to the final touches. Whether you're aiming to capture the fluidity of the fish's movements or the intricate details of its scales, this guide will help you create a stunning fish illustration.

Step 1: Start with the Basic Shapes
Begin by laying down the foundation of your fish drawing with basic shapes. This will help you establish the proportions and pose.
Body and Head: Start with an elongated oval shape for the body of the fish. Add a smaller circle or oval at one end of the body to indicate the head.
Guidelines for Fins: Draw light lines extending from the body to where the fins will be. These guidelines will help you position the fins accurately.
At this stage, keep your lines loose and light. These initial shapes will serve as the framework for your fish.
Step 2: Define the Body and Fins
With the basic shapes in place, begin refining the body and fins of the fish.
Head and Eye: Shape the head by refining the oval or circle, adding a slight curve to the front for the mouth. Place a circle for the eye slightly above the center of the head.
Fins and Tail: Using the guidelines, start sketching the fins and tail. The fins should have a flowing, curved appearance, while the tail can be exaggerated to enhance the elegance of the fish.
For a betta fish, the fins and tail are typically large and flowing, so feel free to exaggerate their size to capture the fish's beauty.
Step 3: Add Details to the Fish
Now that the basic structure is in place, it's time to add details to bring your fish to life.
Scales: Begin by lightly sketching scales along the body of the fish. The scales should be small and uniform, following the contours of the fish's body.
Fins: Add details to the fins, such as the fin rays, which are the thin lines running through the fins. These lines should radiate outward from the base of the fin.
Gills and Mouth: Add the gill cover behind the eye and refine the mouth, adding a slight curve or line to indicate the lips.

Focus on making your lines clean and confident as you refine these details.
Step 4: Shading and Texture
Shading is crucial for adding depth and realism to your fish drawing.

Shading the Body: Start by shading the body of the fish, adding darker values where the light doesn't hit directly. This includes areas under the fins, around the head, and the underside of the body.
Texture on Fins and Scales: Use cross-hatching or small, consistent strokes to add texture to the fins and scales. The texture should follow the natural flow of the fins and the curvature of the fish's body.
Highlights: Add highlights to the eye and along the top of the fish's body to suggest light reflecting off its scales. This will give the fish a more three-dimensional appearance.
Step 5: Final Touches
With the shading complete, it's time to finalize your fish drawing.
Clean Up Lines: Go over your drawing and clean up any unnecessary or rough lines. Make sure the lines that define the fish's shape are smooth and clean.
Enhance Details: Add any final details that will enhance the realism and appeal of the drawing, such as small bubbles around the mouth or slight ripples in the fins.
Background (Optional): You can add a simple background to place your fish in its environment. This could be as simple as a gradient to suggest water or a few aquatic plants to enhance the scene.
Conclusion
You've now completed your fish drawing! With practice, you can experiment with different species, poses, and environments to expand your skills. If you enjoyed this tutorial and want to learn more, be sure to check out the free lessons available on our website, or consider enrolling in our full course for an in-depth learning experience. Happy drawing!